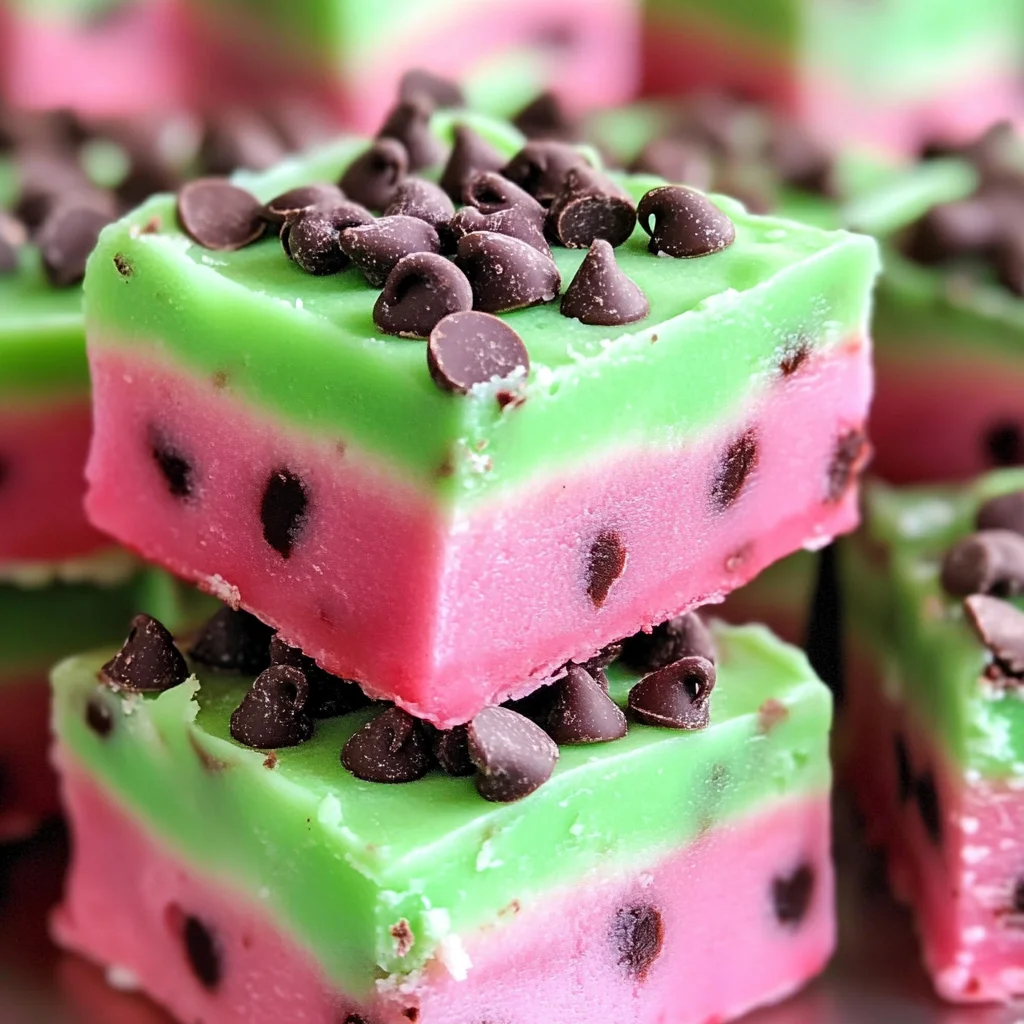
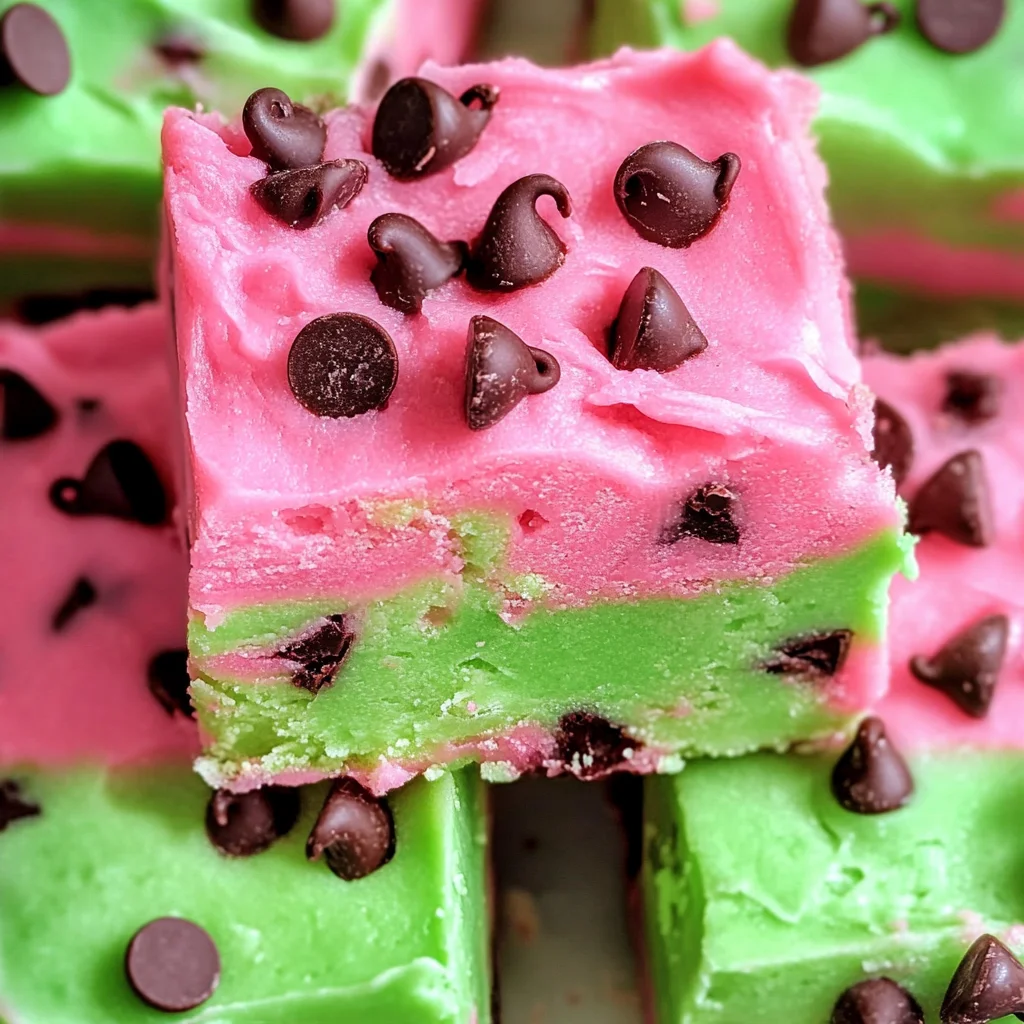
Watermelon Fudge is a delightful treat that captures the essence of summer. This no-bake dessert combines sweet vanilla fudge with vibrant colors, making it a hit for any occasion, from picnics to parties. With just three simple ingredients, you can create a visually stunning and delicious fudge that will impress your friends and family.

Jump to:
- Why You’ll Love This Recipe
- Tools and Preparation
- Essential Tools and Equipment
- Importance of Each Tool
- Ingredients
- For the Fudge Layers
- Optional Topping
- How to Make Watermelon Fudge
- Step 1: Melt the Green Layer
- Step 2: Set the First Layer
- Step 3: Melt the Pink Layer
- Step 4: Assemble the Layers
- Step 5: Chill Until Firm
- Step 6: Serve and Enjoy!
- How to Serve Watermelon Fudge
- Individual Portions
- Sundae Topping
- Party Platter
- Gift Treats
- Summer Barbecue Dessert
- Kid-Friendly Snack
- How to Perfect Watermelon Fudge
- Best Side Dishes for Watermelon Fudge
- Common Mistakes to Avoid
- Storage & Reheating Instructions
- Refrigerator Storage
- Freezing Watermelon Fudge
- Reheating Watermelon Fudge
- Frequently Asked Questions
- Can I use different frosting flavors for Watermelon Fudge?
- How do I make Watermelon Fudge dairy-free?
- What should I do if my Watermelon Fudge is too sticky?
- How can I customize my Watermelon Fudge?
- Final Thoughts
- 📖 Recipe Card
Why You’ll Love This Recipe
- Quick to Prepare: With only three ingredients, this fudge comes together in no time, making it perfect for last-minute gatherings.
- Eye-Catching Presentation: The colorful layers resemble watermelon, making it a fun and festive addition to any dessert table.
- Customizable Flavor: Feel free to add your favorite mix-ins like nuts or dried fruits for extra texture.
- No Baking Required: This recipe is completely no-bake, saving you from the heat of the oven during warm months.
- Great for Any Occasion: Whether it’s a summer barbecue or a holiday celebration, this fudge fits right in.
Tools and Preparation
Before you start making your Watermelon Fudge, gather all necessary tools. Having everything ready will make the process smoother and more enjoyable.
Essential Tools and Equipment
- 9×13 baking dish
- Microwave-safe bowls
- Parchment paper or foil
- Spatula
Importance of Each Tool
- 9×13 baking dish: The perfect size for spreading out the fudge layers evenly.
- Microwave-safe bowls: Ensures safe melting of frosting and chocolate without burning.
- Parchment paper or foil: Prevents sticking, making it easy to lift out the fudge once set.
Ingredients
To make your Watermelon Fudge, gather the following ingredients:
For the Fudge Layers
- 15-ounce Pillsbury Funfetti Frosting in Vibrant Green
- 15-ounce Pillsbury Funfetti Frosting in Hot Pink
- 24 ounces White Chips, divided
Optional Topping
- 1 cup miniature chocolate chips
How to Make Watermelon Fudge
Step 1: Melt the Green Layer
In a large bowl, microwave the green frosting and 12 ounces of white chips together. Do this in 30-second intervals, stirring between each interval until everything is melted and smooth.
Step 2: Set the First Layer
Spread the melted green mixture into a lined 9×13 baking dish. Make sure it’s evenly distributed. Place the dish in the freezer while you prepare the pink layer.
Step 3: Melt the Pink Layer
In another large bowl, microwave the pink frosting with the remaining 12 ounces of white chips. Again, use 30-second intervals and stir until smooth.
Step 4: Assemble the Layers
Once melted, spread the pink mixture over the chilled green layer in the baking dish. Sprinkle miniature chocolate chips on top for added flavor and decoration.
Step 5: Chill Until Firm
Place the entire dish back in the refrigerator for about an hour. This cooling time allows everything to firm up so that you can easily cut into squares.
Step 6: Serve and Enjoy!
Once firm enough to cut, remove from the refrigerator, slice into squares, and serve chilled. Store any leftovers in an airtight container in the refrigerator.
Enjoy your homemade Watermelon Fudge!
How to Serve Watermelon Fudge
This Watermelon Fudge is a delightful treat that adds a splash of color and sweetness to any gathering. Here are some creative serving suggestions to make your fudge even more enjoyable.
Individual Portions
- Serve the fudge cut into bite-sized squares for easy snacking at parties or picnics.
Sundae Topping
- Use small pieces of the fudge as a topping for ice cream sundaes, adding a fun twist to traditional desserts.
Party Platter
- Arrange the fudge on a vibrant platter with fresh fruits like strawberries and kiwi for a colorful dessert spread.
Gift Treats
- Wrap individual pieces in decorative cellophane bags, making perfect gifts for friends and family.
Summer Barbecue Dessert
- Offer the fudge alongside other summer desserts at barbecues, providing a sweet contrast to savory dishes.
Kid-Friendly Snack
- Cut the fudge into fun shapes using cookie cutters for an exciting snack option that kids will love.
How to Perfect Watermelon Fudge
To ensure your Watermelon Fudge turns out perfectly every time, follow these helpful tips.
- Use room temperature ingredients: Allow the frosting and chips to sit at room temperature before melting. This helps them blend smoothly without seizing.
- Microwave carefully: Heat the frosting and white chips in short intervals, stirring in between. This prevents overheating and ensures a creamy texture.
- Line your dish properly: Use parchment paper or foil to line your baking dish. This makes it easier to lift out the fudge once it’s set.
- Experiment with toppings: Feel free to add nuts, sprinkles, or dried fruit on top of the fudge before chilling for extra flavor and texture.
Best Side Dishes for Watermelon Fudge
Pairing side dishes with your Watermelon Fudge can enhance its appeal. Here are some delicious options that complement this sweet treat.
- Fresh Fruit Salad: A mix of seasonal fruits like melon, berries, and pineapple provides a refreshing contrast to the rich fudge.
- Vanilla Ice Cream: The creamy texture of vanilla ice cream pairs beautifully with the sweetness of the fudge for an indulgent dessert experience.
- Cheese Platter: A selection of mild cheeses balances out the sweetness of the fudge and offers a savory option for guests.
- Chocolate Dipped Pretzels: These salty-sweet snacks are an excellent accompaniment that adds crunch alongside your fudge.
- Mini Cupcakes: Offer assorted mini cupcakes as another sweet option that guests can enjoy along with the fudge.
- Granola Bars: Homemade or store-bought granola bars provide a chewy texture that complements the smoothness of the fudge while keeping things light.
Common Mistakes to Avoid
When making Watermelon Fudge, it’s essential to avoid common pitfalls that can affect the final result.
- Bold Frosting Selection: Not choosing high-quality frosting can lead to a less flavorful fudge. Always opt for brands known for their taste and texture.
- Bold Melting Technique: Overheating the frosting and white chips can cause them to seize. Use short intervals in the microwave and stir frequently for a smooth consistency.
- Bold Layer Thickness: Spreading the layers too thick might prevent them from setting properly. Aim for an even distribution that’s not too heavy.
- Bold Cooling Time: Cutting the fudge too soon can result in messy pieces. Allow it to chill sufficiently in the refrigerator for at least one hour before slicing.
- Bold Storage Choices: Storing the fudge improperly can lead to spoilage or loss of flavor. Keep it in an airtight container in the refrigerator.
Storage & Reheating Instructions
Refrigerator Storage
- Store the Watermelon Fudge in an airtight container.
- It can last up to one week when kept in the fridge.
Freezing Watermelon Fudge
- Wrap the fudge tightly in plastic wrap or parchment paper before placing it in a freezer-safe container.
- This fudge can be frozen for up to three months.
Reheating Watermelon Fudge
- Bold Oven: Preheat your oven to low heat, place the fudge on a baking sheet, and warm it gently until soft.
- Bold Microwave: Heat small pieces in 10-second intervals until slightly softened; be cautious not to melt completely.
- Bold Stovetop: Use a double boiler on low heat, stirring gently until warmed through without melting entirely.
Frequently Asked Questions
If you have questions about this recipe, you’re not alone! Here are some commonly asked questions regarding Watermelon Fudge.
Can I use different frosting flavors for Watermelon Fudge?
Absolutely! Feel free to experiment with various frosting flavors like chocolate or strawberry for unique twists.
How do I make Watermelon Fudge dairy-free?
You can substitute traditional frosting with dairy-free alternatives available at most grocery stores.
What should I do if my Watermelon Fudge is too sticky?
If your fudge is sticky, it may need more chilling time. Ensure it’s properly cooled before cutting.
How can I customize my Watermelon Fudge?
Try adding nuts, dried fruits, or even sprinkles on top for added texture and flavor!
Final Thoughts
Watermelon Fudge is an ideal treat for summer gatherings or any occasion! Its vibrant appearance and sweet taste make it a crowd favorite. Plus, you can easily customize it with different toppings or flavors. Give this recipe a try—your friends and family will love it!
Did You Enjoy Making This Recipe? Please rate this recipe with ⭐⭐⭐⭐⭐ or leave a comment.
📖 Recipe Card
Print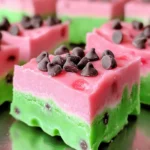
Easy 3-Ingredient Watermelon Fudge
- Total Time: 0 hours
- Yield: Approximately 16 servings 1x
Description
Indulge in the delightful taste of Easy 3-Ingredient Watermelon Fudge, a no-bake dessert that captures the essence of summer in every colorful bite. This sweet treat combines vibrant layers of funfetti frosting with creamy white chocolate, creating a visually stunning and delicious fudge that’s perfect for any occasion—from family picnics to festive parties. With only three simple ingredients, you can whip up this eye-catching dessert in no time, and it’s completely customizable—add your favorite nuts or dried fruits for an extra twist.
Ingredients
- 15-ounce Pillsbury Funfetti Frosting in Vibrant Green
- 15-ounce Pillsbury Funfetti Frosting in Hot Pink
- 24 ounces White Chips (divided)
Instructions
- In a microwave-safe bowl, melt the green frosting with 12 ounces of white chips in 30-second intervals until smooth.
- Spread the melted mixture into a lined 9×13 baking dish and freeze while preparing the pink layer.
- In another bowl, melt the pink frosting with the remaining 12 ounces of white chips using the same method.
- Once melted, spread over the chilled green layer and sprinkle miniature chocolate chips on top.
- Refrigerate for about an hour until firm, then slice into squares and serve chilled.
- Prep Time: 15 minutes
- Cook Time: None
- Category: Dessert
- Method: No-Bake
- Cuisine: American
Nutrition
- Serving Size: 1 square
- Calories: 140
- Sugar: 18g
- Sodium: 20mg
- Fat: 7g
- Saturated Fat: 4g
- Unsaturated Fat: 2g
- Trans Fat: 0g
- Carbohydrates: 17g
- Fiber: 0g
- Protein: 1g
- Cholesterol: 0mg