Ghost cookies are the perfect spooky treat for Halloween! These fun and festive desserts are easy to make, which makes them ideal for parties or family gatherings. With just a few simple ingredients, you can transform ordinary cookies into delightful ghostly figures. Plus, they are sure to bring smiles to everyone’s faces!
Jump to:
- Why You’ll Love This Recipe
- Tools and Preparation
- Essential Tools and Equipment
- Importance of Each Tool
- Ingredients
- For the Ghost Cookies
- How to Make Ghost cookies
- Step 1: Prepare Your Workspace
- Step 2: Make the Icing
- Step 3: Decorate the Cookies
- Step 4: Add Faces with Icing
- Step 5: Allow to Set
- How to Serve Ghost cookies
- Fun Halloween Plate
- Treat Bags
- Dessert Table Highlight
- Milk Pairing
- Spooky Cookie Decorating Station
- How to Perfect Ghost cookies
- Best Side Dishes for Ghost cookies
- Common Mistakes to Avoid
- Storage & Reheating Instructions
- Refrigerator Storage
- Freezing Ghost cookies
- Reheating Ghost cookies
- Frequently Asked Questions
- What are Ghost cookies?
- How can I customize my Ghost cookies?
- Can I use different types of cookies?
- How do I store leftover Ghost cookies?
- Final Thoughts
- 📖 Recipe Card
Why You’ll Love This Recipe
- Quick and Easy: This recipe takes only 25 minutes from start to finish, making it perfect for last-minute Halloween treats.
- Fun for Kids: Involve your children in the decorating process for a fun family activity that doubles as a tasty project.
- Customizable Designs: Use your creativity with black writing icing to create unique ghost faces that suit your style.
- Perfect for Any Occasion: While they shine during Halloween, these ghost cookies can be made for any festive event where a bit of whimsy is welcome.
Tools and Preparation
Before diving into the recipe, gather your essential tools. Having everything ready will streamline the process and ensure a successful bake.
Essential Tools and Equipment
- Baking tray
- Mixing bowl
- Whisk or spoon
- Piping bag (optional)
Importance of Each Tool
- Baking tray: A sturdy baking tray ensures even heat distribution while baking.
- Mixing bowl: A good mixing bowl allows you to combine ingredients easily without spills.
- Whisk or spoon: These tools help achieve a smooth icing consistency for better application on your cookies.
Ingredients
Take a pack of cookies and turn them into these spooky Halloween treats
For the Ghost Cookies
- 175g icing sugar
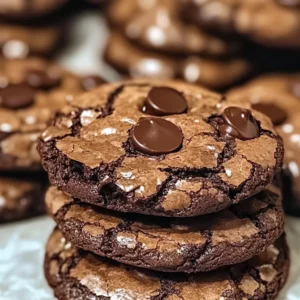
- 1 x 200g pack chocolate chunk cookies
- 9 vegan marshmallows (regular size)
- black writing icing
How to Make Ghost cookies
Step 1: Prepare Your Workspace
Begin by clearing your kitchen counter and gathering all your ingredients. This will help you stay organized as you make your ghost cookies.
Step 2: Make the Icing
In a mixing bowl, combine the icing sugar with a small amount of water until you achieve a thick but spreadable consistency. You may need to adjust the amount of water depending on humidity.
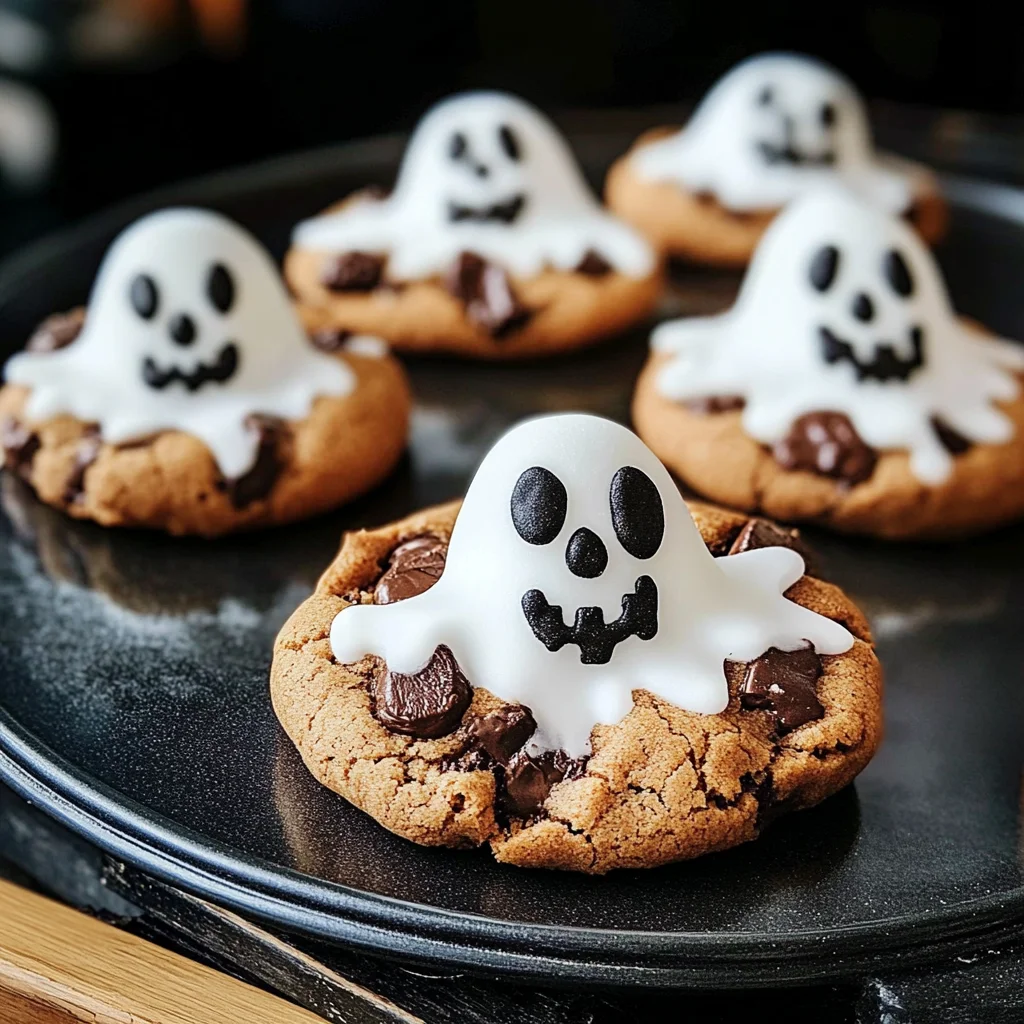
Step 3: Decorate the Cookies
- Place each chocolate chunk cookie on your baking tray.
- Dip the top half of each cookie into the icing mixture, ensuring an even coating.
- Carefully place one vegan marshmallow at the center of each iced cookie as the ghost’s head.
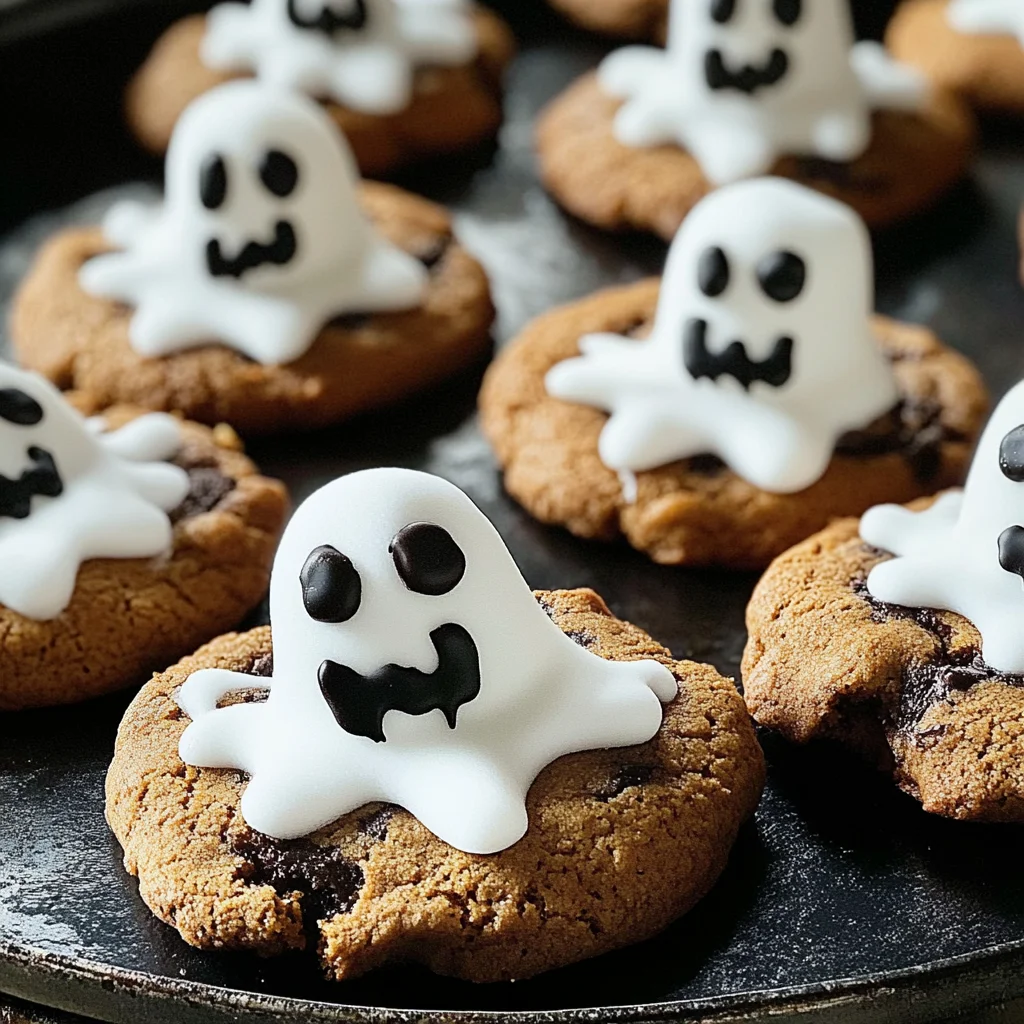
Step 4: Add Faces with Icing
Using black writing icing, draw eyes and mouths on each marshmallow to give them spooky personalities. Let your creativity flow!
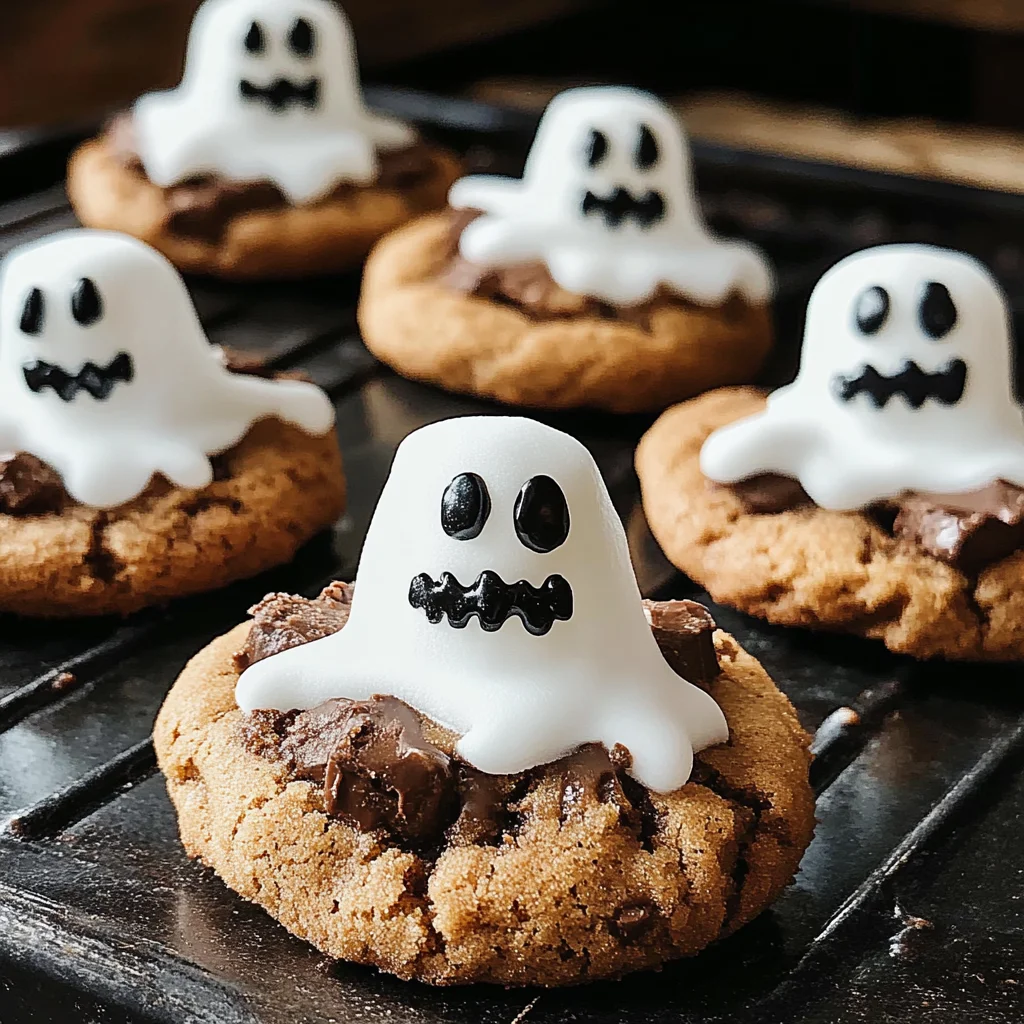
Step 5: Allow to Set
Let the decorated ghost cookies sit for about 10-15 minutes so the icing can set before serving or enjoying!
These ghost cookies are not just delicious; they are also an enjoyable way to celebrate Halloween with friends and family!
How to Serve Ghost cookies
Ghost cookies make a delightful treat for Halloween parties or spooky gatherings. Their fun design and sweet flavor are sure to be a hit among guests of all ages.
Fun Halloween Plate
- Arrange ghost cookies on a festive Halloween plate surrounded by candy corn and mini pumpkins for a colorful display.
Treat Bags
- Place individual ghost cookies in clear treat bags tied with orange or black ribbons. These make perfect party favors for kids!
Dessert Table Highlight
- Showcase ghost cookies as the centerpiece on your dessert table, complemented by other Halloween-themed treats like pumpkin cupcakes and spooky brownies.
Milk Pairing
- Serve ghost cookies with a glass of cold almond milk or your favorite non-dairy alternative for a deliciously sweet experience.
Spooky Cookie Decorating Station
- Set up a decorating station where guests can create their own ghost designs using extra writing icing and sprinkles. This adds an interactive element to your gathering!
How to Perfect Ghost cookies
To achieve the best ghost cookies, keep these simple tips in mind:
Use Fresh Ingredients: Ensure your chocolate chunk cookies are fresh for optimal flavor and texture.
Control Icing Consistency: Adjust the icing sugar with water to reach the desired thickness, ensuring it spreads easily without running off.
Cut Marshmallows Evenly: For uniform ghosts, slice marshmallows into even halves before placement on the cookies.
Practice Writing Icing: Test your black writing icing on parchment paper before decorating to avoid mistakes on the actual cookies.
Best Side Dishes for Ghost cookies
Pairing side dishes with ghost cookies can enhance your Halloween celebration. Here are some great options:
Pumpkin Soup: A warm, creamy pumpkin soup adds a cozy touch to any Halloween gathering.
Vegetable Platter: Fresh veggies like carrots, celery, and bell peppers served with hummus offer a healthy contrast to sweet treats.
Cheese Board: A selection of cheeses, crackers, and fruits can complement your ghost cookies and provide savory snacks.
Spooky Fruit Salad: Combine seasonal fruits such as oranges, apples, and grapes for a refreshing dessert that fits the theme.
Candy Apples: These sweet treats bring nostalgia and fun to your dessert table alongside ghost cookies.
Popcorn Mix: Create a festive popcorn mix with chocolate drizzles and colorful candies for an easy-to-make side dish that guests will love.
Mini Quiches: Bite-sized quiches filled with cheese and vegetables make for savory finger food at your Halloween gathering.
Ghostly Grapes: Dip grapes in yogurt and freeze them for an easy, healthy treat that complements the theme perfectly!
Common Mistakes to Avoid
When making Ghost cookies, it’s easy to encounter a few common pitfalls. Here are some mistakes to watch out for.
- Ignoring ingredient measurements: Always measure your ingredients carefully. Accurate measurements ensure the best results.
- Not letting cookies cool: Allow your cookies to cool completely before decorating. This prevents the icing from melting and losing shape.
- Using stale cookies: Fresh cookies yield the best flavor and texture. Check your cookie pack for expiration dates.
- Rushing decoration: Take your time with the black writing icing. Enjoy the process and let each layer dry before adding more details.
Storage & Reheating Instructions
Refrigerator Storage
- Store Ghost cookies in an airtight container.
- They can last up to 5 days in the refrigerator without losing freshness.
Freezing Ghost cookies
- Place them in a freezer-safe bag or container.
- You can freeze Ghost cookies for up to 3 months.
Reheating Ghost cookies
- Oven: Preheat to 350°F (175°C) and warm cookies for about 5 minutes.
- Microwave: Heat on low power for 10-15 seconds until just warm.
- Stovetop: Place a lid over the pan on low heat for a few minutes to warm gently.
Frequently Asked Questions
What are Ghost cookies?
Ghost cookies are fun and spooky treats perfect for Halloween, made using chocolate chunk cookies, icing sugar, and marshmallows.
How can I customize my Ghost cookies?
You can customize by using different colors of icing or adding sprinkles for a festive touch!
Can I use different types of cookies?
Yes! While this recipe uses chocolate chunk cookies, feel free to experiment with other cookie types that you enjoy.
How do I store leftover Ghost cookies?
Store any leftovers in an airtight container at room temperature or refrigerate them for longer freshness.
Final Thoughts
Ghost cookies are not only delightful but also versatile treats that bring festive fun to any Halloween celebration. Feel free to customize them according to your preferences, making them uniquely yours!
Did You Enjoy Making This Recipe? Please rate this recipe with ⭐⭐⭐⭐⭐ or leave a comment.
📖 Recipe Card
Print
Ghost Cookies
- Total Time: 25 minutes
- Yield: Approximately 9 servings 1x
Description
Transform ordinary chocolate chunk cookies into delightful Ghost cookies, perfect for Halloween festivities! These fun and spooky treats are not only easy to make but also a fantastic way to involve your family in the holiday spirit. With just a handful of ingredients, you can create these whimsical cookies that will surely bring smiles to both kids and adults. Whether you’re hosting a Halloween party or just looking for a sweet treat, these ghostly delights are sure to be the star of the show.
Ingredients
- 175g icing sugar
- 200g chocolate chunk cookies
- 9 vegan marshmallows
- Black writing icing
Instructions
- Prepare your workspace by clearing the counter and gathering all ingredients.
- In a mixing bowl, combine icing sugar with a small amount of water until thick yet spreadable.
- Dip the top half of each chocolate chunk cookie into the icing mixture.
- Place one vegan marshmallow on top of each iced cookie as the ghost's head.
- Use black writing icing to draw eyes and mouths on each marshmallow.
- Allow the decorated cookies to set for 10-15 minutes before serving.
- Prep Time: 15 minutes
- Cook Time: 10 minutes
- Category: Dessert
- Method: Baking
- Cuisine: American
Nutrition
- Serving Size: 1 serving
- Calories: 150
- Sugar: 20g
- Sodium: 60mg
- Fat: 6g
- Saturated Fat: 1g
- Unsaturated Fat: 5g
- Trans Fat: 0g
- Carbohydrates: 24g
- Fiber: 1g
- Protein: 1g
- Cholesterol: 0mg